

 English
 中文简体
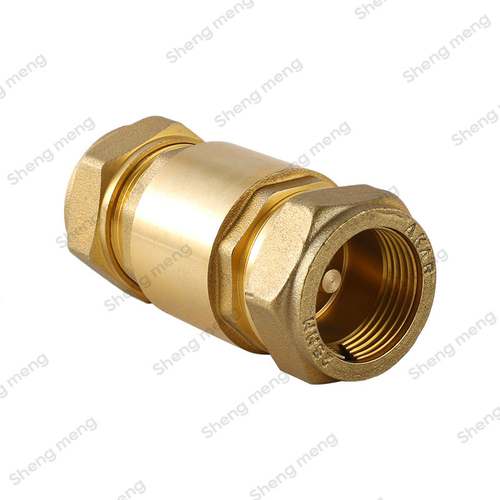
中文简体Installing a brass check valve in a plumbing system involves the following steps:
Shut off the water supply: Before you begin the installation process, it is important to shut off the water supply to the plumbing system. This will prevent water from flowing through the pipes while you are installing the check valve.
Identify the installation location: Determine where you want to install the check valve in your plumbing system. The check valve should be installed in a horizontal position to ensure proper functioning.
Measure the pipe size: The brass check valve should be of the same size as the pipe where you plan to install it. Measure the diameter of the pipe using a tape measure or caliper to ensure that you purchase the right size check valve.
Install the check valve: Apply Teflon tape to the threads of the check valve to ensure a tight seal. Thread the check valve onto the pipe and tighten it with a wrench. Make sure not to over-tighten the check valve, as this can damage the threads.
Test the installation: Once the check valve is installed, turn on the water supply and test the installation. Check for any leaks or drips around the check valve. If there are no leaks, the check valve is installed correctly.
It is important to note that if you are not familiar with plumbing or are unsure of how to install a check valve, it is best to seek the help of a professional plumber to ensure a proper installation.


